

Image Credit: Energy Vanguard
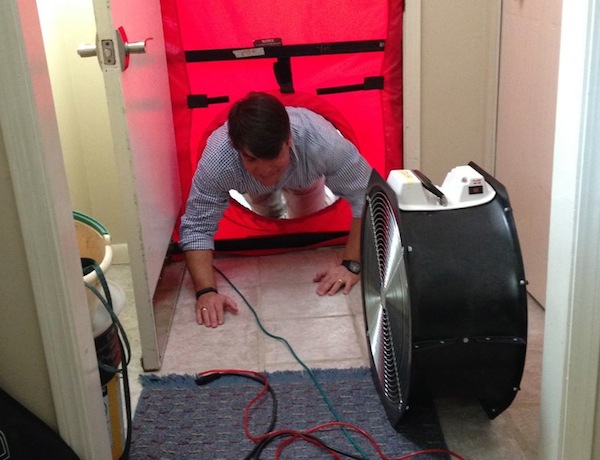
Image Credit: Energy Vanguard If you forget to put your hose outside before you finish setting up the blower door, you may have to do the "crawl of shame."
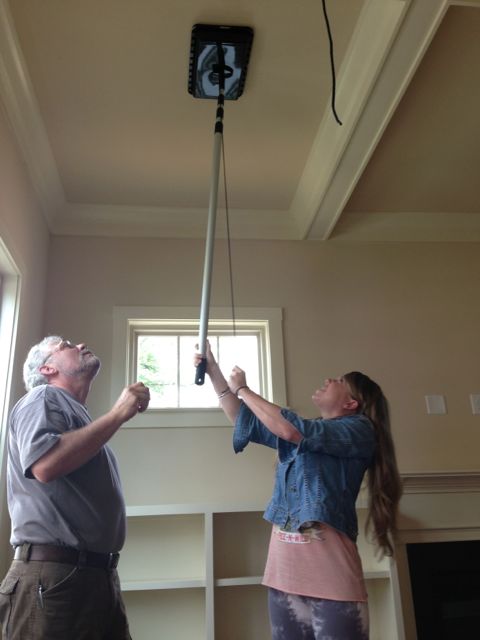
Image Credit: Energy Vanguard Vent Caps make duct leakage testing go a lot quicker. It's a plastic bin with weatherstripping around the edge held tightly over the grille or register by a hook, string, and clamp.
Image Credit: Energy Vanguard
More Building Science


A typical BPI Building Analyst spends four to five days in a class learning how to do blower door testing, along with all the other stuff they need to know. HERS raters get all that, too, but also have to learn how to do duct leakage testing. Then there’s that whole big bunch of people who have gone through one or two day intensive blower door and duct leakage training for energy code compliance. When they’re done with the training, how do they figure out how to do pressure testing in the real world?
The lucky ones work for companies where they get on-the-job mentoring. Many newly trained pressure testers, however, are out there doing it on their own. As a result, they can miss out on some of the techniques that experienced and proficient blower door and duct leakage testers use, so today I’m going to share some of the tips and tricks I’ve learned over the past dozen years.
1. Don’t do the blower door test first
Jason Payne taught me this one several years ago, and it makes perfect sense. I used to go in and do the blower door test first, then set up and run the two duct leakage tests. If you’ve done any of this testing, you know that it takes much longer to set up for the duct leakage testing. If it’s a hot, humid, or cold day, when you run the blower door first, you’re making the house uncomfortable for the whole time you’re setting up the duct leakage tests.
Instead, do all your setup upfront. Then run your two duct leakage tests. Once you’ve got those results, unseal the vents and run your blower door test. Running the tests takes only a few minutes if you’re just measuring performance. If you’re doing a lot of diagnostic work, too, it’ll take a bit longer, but as soon as you’re done, you can get the air conditioner or heating system going again.
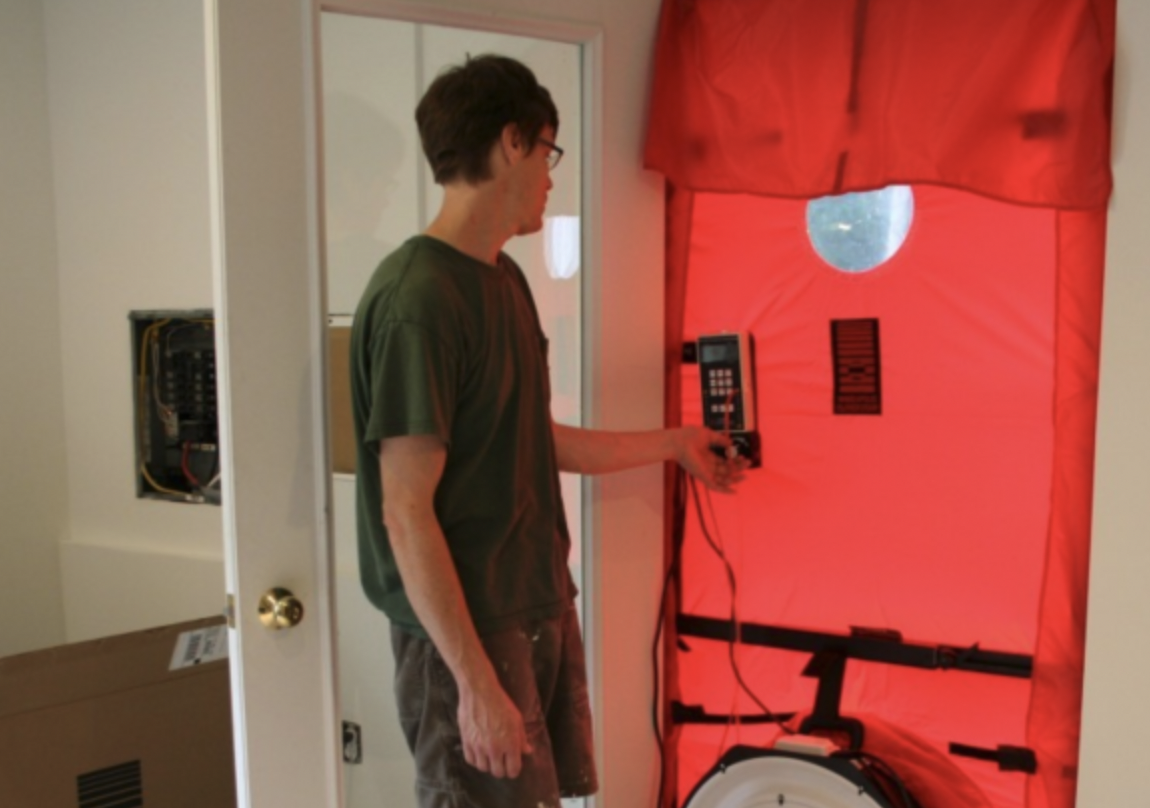
2. Put the hose outside
When you’re setting up the blower door, run your hose to the outdoors before you completely assemble the door. If you don’t, you’ll either have to take it apart again, go through another door, or do the “crawl of shame” to get the hose in position (see Image #2, below). After you’ve suffered one or more of those inconveniences a few times, you’ll start remembering this every time.
3. Put the hose in a bag, can, or shoe
When you put the hose outdoors, you need to protect the end from wind. A good way to do that is to put the end of the hose in some kind of container that’s still connected to the outdoor air. You could use your shoe. You could use a plastic container. You could even use a bag. It just so happens that the little canvas bag for The Energy Conservatory’s DG-700 is perfect for this task.
In addition to protecting the end of the hose from wind, doing this also helps protect it from water. A drop of water in the end of your hose can mess up your results, too.
4. Put newspaper over fireplace ashes
If you make the mistake of not checking the fireplace for ashes, the carpet is guaranteed to be white. I don’t know why this works, but I know from experience that it does. So first, check the fireplace for ashes. One method I’ve found that keeps the ashes out of the house is to lay newspaper over the fireplace and then use a spray bottle filled with water to wet the newspaper. It works.
5. Make sure your helpers know where to seal the vents
As I mentioned above, the duct leakage test setup takes the longest, and a lot of that time is used sealing up all the vents in the house. If people are hanging around, you can get them involved by having them do the sealing for you.
Andy Bell once used volunteers for this task and ended up with a mystery. When he hooked up the duct tester, he couldn’t get any pressure at all in any of the supply vents. What he discovered was that one of his helpers had opened up the return grille and taped up the duct on the inside, preventing any of the duct tester air from getting into the rest of the duct system.
6. Use Vent Caps
If you haven’t used Vent Caps yet, you’ll be amazed at the difference they can make in your setup time (see Image #3, below). They’re so much easier to use than grille mask, and if you do a fair amount of testing, they’ll pay for themselves pretty quickly with the money you save on grille mask. Eric Griffin, a building science consultant with Positive Energy in Austin, Texas, told me once, “Vent Caps changed my life.”
You’ll still need to buy grille mask because there will always be places where you just can’t use Vent Caps.
Disclosure: Vent Cap Systems is one of our advertisers in the Energy Vanguard Blog. It’s a product we use in our work and one that we’ve recommended for years.
7. Remember the science
When you’re new to the whole pressure testing thing, it’s easy to get fixated on the instructions and forget the science behind them. When you’re doing a duct leakage test, for example, sometimes you crank up the duct tester and you just don’t get much response in the pressure on the other side of the duct system.
That requires some troubleshooting, and it’s best to start with the science. Here are a few reasons (most of which have happened to me) you might not be getting pressure at the other end:
- Your helper sealed the inside of the return so no air gets through. (See number 5 above.)
- You forgot to seal one of the return vents. This happened to me in a house with a wall stack connected to grilles on both sides of the wall. I connected the duct tester to one side and forgot to seal the other.
- The filter is dirty and you forgot to remove it, or the coil is really dirty.
- The supply vent you stuck the hose into is attached to a duct that’s disconnected from the system. Try different vents to see if you get pressure there.
- Your manometer setup is wrong. Maybe you connected the hoses incorrectly, or forgot to attach them at all.
When things go wrong — and they will — it’s an opportunity for you to understand the physics of pressure better.
This list doesn’t include a lot of the basic stuff you’re supposed to be doing anyway. I’m sure there’s also a lot more tips and tricks out there that I don’t know yet. What are yours?
Allison Bailes of Decatur, Georgia, is a speaker, writer, energy consultant, RESNET-certified trainer, and the author of the Energy Vanguard Blog. Check out his in-depth course, Mastering Building Science at Heatspring Learning Institute, and follow him on Twitter at @EnergyVanguard.
Weekly Newsletter
Get building science and energy efficiency advice, plus special offers, in your inbox.


2 Comments
"the crawl of shame", nice to
"the crawl of shame", nice to have a term for it. haven't had to do that in quite a while, thankfully.
Location of Outside Pressure Tap
Nice writeup, Allison. FYI, I used to be a big subscriber to the "put the outside pressure tap into a cup/bag" trick. But the Energy Conservatory actually looked at this systematically, for their studies on big building air leakage testing with multiple blower doors. I believe they found that having the hose near the "crack" between the building wall and grade often provided the best measurements.
See pages 57-58 in this document (which, BTW, is a really nice resource that TEC has put out):
http://energyconservatory.com/wp-content/uploads/2014/07/blower_door_applications_guide_-_beyond_single_family_residential_ver_1-0_0.pdf
Log in or create an account to post a comment.
Sign up Log in